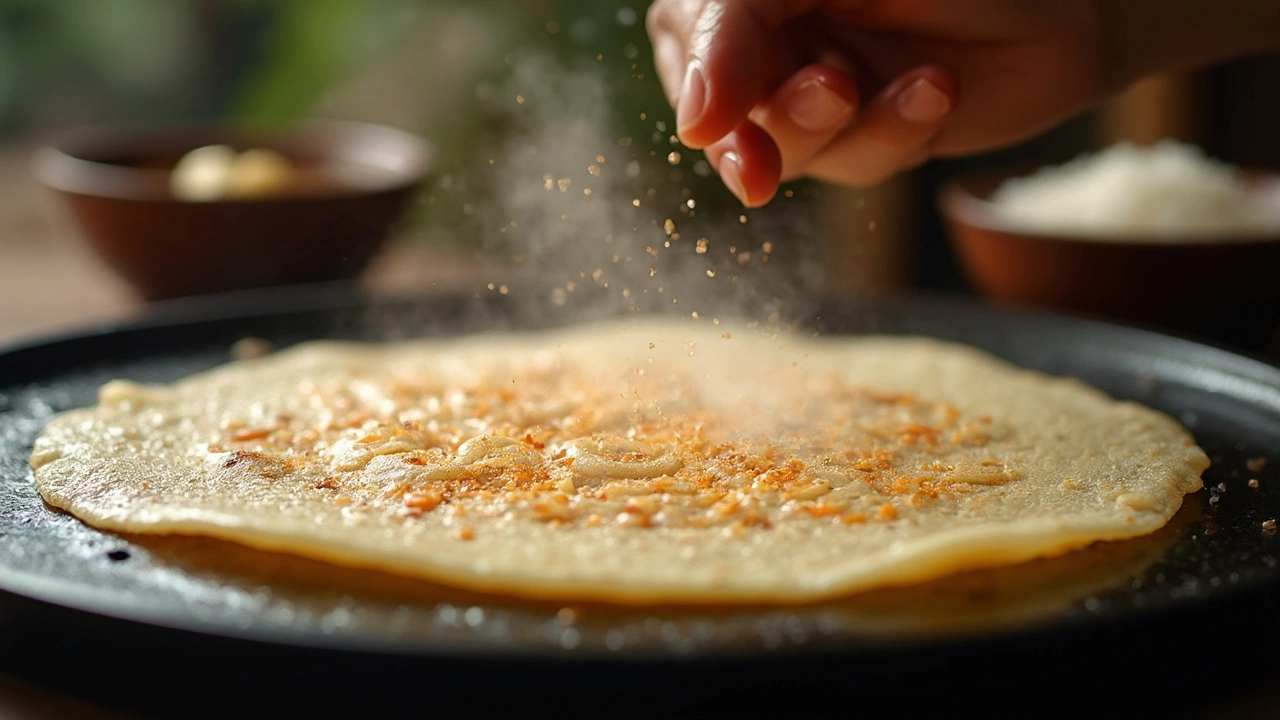
If you've ever dabbled in making dosas at home, you know the real struggle isn’t the spreading or flipping—it’s getting that batter just right. The secret weapon for a lot of home cooks? A pinch of baking soda. Sounds simple, but there’s real science behind tossing it in before making your first dosa of the day.
Most people think dosa batter only needs rice, urad dal, and some time sitting on your kitchen counter. But if you’re living somewhere cold, or you wake up to a disappointingly flat batter, you’ll see why many swear by baking soda. Just a tiny bit can save your breakfast, giving you dosas that are softer, slightly more airy, and brown up better on the pan.
What’s really happening here? Baking soda boosts the batter’s fermentation, creates extra bubbles, and that means lighter, spongier dosas. No chemistry class required—just a sprinkle makes things easier, especially when life (or winter weather) messes with your batter. But get this: too much can ruin everything, leaving a weird soapy taste in your crispy crepes. Finding that sweet spot is what separates solid home cooks from dosa masters.
- What Happens in Traditional Dosa Fermentation
- How Baking Soda Changes the Game
- Getting the Timing Right: When to Add Baking Soda
- Risks and Mistakes: When Baking Soda Goes Wrong
- Smart Tips for Perfect Dosa Batter Every Time
What Happens in Traditional Dosa Fermentation
Fermentation is the backbone of good dosa batter. When you blend soaked rice and urad dal (split black gram), then let it sit out at room temperature—usually between 8-16 hours—magic happens. But it’s not really magic. Natural airborne wild yeast and the bacteria in the dal and rice start breaking down starches and proteins. They make bubbles of carbon dioxide, which gently puff up the batter, and produce lactic acid, which gives dosas their faint sour note.
This process doesn’t just add flavor; it shapes texture too. Left alone, the batter goes from paste-like to lightly bubbly and somewhat airy. That’s what makes a dosa crisp along the edges and a little soft inside. If the kitchen’s warm (think 25°C to 30°C), things move along smoothly. But when it's colder, fermentation can slow to a crawl. That’s when folks get impatient and dosas come out flat, chewy, or just plain sad.
Here’s what your fermentation window typically looks like:
| Room Temperature | Fermentation Time Needed |
|---|---|
| Above 30°C (hot climates) | 6-8 hours |
| 20-25°C (moderate) | 12-16 hours |
| Below 20°C (cold) | 18+ hours or may need a boost |
There’s a reason why grandma’s dosa batter always hit the mark—her kitchen was often warmer, and she knew by feel when it was ready. The most obvious sign? The batter doubles in size and smells slightly tangy. If you scoop it, you’ll see airy little bubbles. But sometimes, even after waiting, the magic doesn’t happen. That’s when cooks switch to plan B and add a pinch of baking soda to give things a gentle nudge.
The bottom line: traditional fermentation gives dosa batter its classic tang and lightness, but it needs patience, the right temperature, and a bit of practice to get right every time.
How Baking Soda Changes the Game
Baking soda isn’t just an old trick—there’s actual science driving its effect in dosa batter. It’s all about what happens when that white powder hits your fermented mix of rice and dal. Let’s break it down without the jargon.
Baking soda is sodium bicarbonate. When you add it to dosa batter, it reacts with the natural acids (like lactic acid from fermentation) and releases carbon dioxide. These tiny gas bubbles get trapped inside the batter, which makes it puffier and lighter as soon as you pour it onto the hot pan. This extra lift is the difference between a chewy dosa and one that’s got the perfect airy middle and crispy edges.
- Softer texture: Those bubbles lock in moisture, so the dosa doesn’t dry out and stays fluffy, even if your batter wasn’t fermenting properly.
- Better browning: Carbon dioxide also helps the dosa brown more evenly, so you get that lacy golden look that makes your breakfast Instagram-worthy.
- Speed fix: Baking soda lets you fast-track a sleepy batter, especially if the weather’s cold or you forgot to start fermenting early enough.
Just check out what happens if you add baking soda versus when you skip it. Here’s a simple comparison table from folks who’ve trialed dozens of homemade batters:
| With Baking Soda | Without Baking Soda |
|---|---|
| Fluffy, spongy texture | Denser, sometimes chewy |
| Better rise even if fermentation is weak | Heavily relies on proper fermentation |
| Crispier and more even browning | Paler, sometimes patchy browning |
| Ready to use in less time | Needs longer fermenting for lightness |
But a word to the wise—don’t get heavy-handed. Too much baking soda leaves a bitter, chemical taste that’s hard to miss. Most home cooks stick to about 1/4 teaspoon per 2 cups of batter. It’s a small amount that balances out flavor and fluffiness without messing up the dosa’s classic taste. That’s how baking soda quietly levels up your dosa game, especially when the batter alone doesn’t cut it.

Getting the Timing Right: When to Add Baking Soda
Add baking soda to dosa batter at the wrong moment and it barely helps—or worse, backfires. The key is not just how much you add, but when. If you add it too early, you risk losing all the extra bubbles you’re aiming for by the time you cook. Add it just before making dosas, and you get all that lift and lightness exactly when you need it.
The golden rule: only mix in baking soda right before you’re ready to make dosas, ideally after fermentation is done and you’re about to heat up the pan. This lets the gas bubbles—what make the dosa fluffy—work their magic as you pour each ladle onto the pan. Here’s what the basic timeline looks like:
- Soak and grind rice and urad dal as usual.
- Let your batter ferment for 8-12 hours (or overnight) until it looks bubbly and risen.
- Once fermentation is done and you're about to cook, add just a pinch (about 1/8 to 1/4 teaspoon per 2 cups of batter) of baking soda.
- Mix gently—don’t overmix or the bubbles will escape before you even start cooking.
- Start making dosas right away; don’t let the batter sit around once baking soda is in.
Fun fact: a quick test to check if your batter is airy enough for dosas, even before adding baking soda, is to drop a little in water—the batter should float. If it sinks, that’s a sign fermentation is off or your kitchen was too cold, so you’ll get the most benefit by adding a little soda.
For folks who like seeing things in numbers, here’s a quick reference chart with typical dos and don’ts:
| Batter State | When to Add Baking Soda? | How Much? |
|---|---|---|
| Well-fermented, bubbly | Optional, add just before cooking for extra fluff | 1/8 tsp per 2 cups |
| Not risen, slightly sour | Needed, add just before cooking | 1/4 tsp per 2 cups |
| Unfermented, no rise | Add, but dosa may not taste perfect | 1/4 tsp per 2 cups |
So, don’t reach for baking soda when you first mix your batter or leave it in overnight. Waiting till the batter is ready to use is the small trick that makes a big difference. It’s all about timing, not just the ingredient itself.
Risks and Mistakes: When Baking Soda Goes Wrong
Baking soda works magic in dosa batter, but there’s a fine line between just right and a total flop. Add too much? Your dosa will taste bitter or even soapy, with a strange aftertaste that lingers longer than anyone wants. That's actually a reaction between extra baking soda and the batter’s acids, throwing off the flavor big time.
It’s also easy to run into problems with texture. While you want dosas to be soft, overdoing the baking soda makes them oddly fluffy, almost cake-like—not the crisp edges and tender center you’re after. Too much baking soda can also make the batter go thin and watery. No one likes a spreading disaster on the pan.
Sometimes, folks add the baking soda too early, thinking it’ll help ferment the batter overnight. But that’s a big mistake. The baking soda will lose its fizz and settle before you even hit the tawa, so you'll miss out on those helpful bubbles in the final dosa.
Here’s how to avoid the usual mistakes:
- Stick to a tiny pinch (about 1/8 teaspoon for 3 cups of batter)—less is more.
- Add it right before making your dosas, not during initial fermentation.
- Mix the batter gently after adding; no need for a wild stir, just enough to blend it in evenly.
- Do a taste check on your first dosa—if you notice a strange flavor, adjust for the next round.
Baking soda can be your best friend or your biggest headache. Used the right way, it’s a lifesaver. Used carelessly, you’ll remember the lesson each time you try to fix an off-tasting dosa batch.

Smart Tips for Perfect Dosa Batter Every Time
Nailing that perfect dosa at home gets so much easier when you really know your batter. Keeping things simple and predictable means fewer kitchen fails and way better breakfast.
Start with fresh ingredients—old dal and rice just don’t ferment right. For a 3:1 ratio of rice to urad dal, use short-grain rice (like sona masoori) because it breaks down better and gives softer dosas. Always wash the rice and dal well before soaking—at least three times. This step isn’t just about hygiene; it actually helps remove extra starch, so you’ll get lighter and crispier dosas.
- Grind the soaked mixture with ice-cold water. Keeping the batter cool stops the blender from heating up your batter, which can mess up fermentation.
- Use a large container for fermenting since the batter rises. Only fill halfway to avoid a messy overflow if things go really well overnight.
- If you live somewhere chilly, wrap your batter bowl in a towel and leave it in a switched-off oven or near a warm appliance. Indian grandmas have done this forever, and it works.
- After fermentation, stir lightly to mix air evenly without knocking it all out. Don’t beat it like cake batter—you actually want those bubbles!
- Right before making dosas, add a pinch of baking soda if your batter didn’t ferment enough or looks too thick and flat. Go easy—a quarter teaspoon for every 4 cups is enough.
Here’s a quick cheat sheet with dos and don'ts for hassle-free dosa batter:
| Tip | What It Does |
|---|---|
| Use filtered water | Chlorine in tap water can slow fermentation |
| Add salt after fermentation | Salt slows down the rise if added before |
| Mix in fenugreek seeds | Adds flavor, helps batter rise and brown better |
| Check batter with the float test | If a spoonful floats in water, it’s ready |
| Don’t go overboard with baking soda | A soapy taste means you added too much |
If you messed up and your batter’s still flat, try mixing in a splash of warm water, a little baking soda, and let it rest for 15 minutes. That usually gives it enough lift without tasting weird.
Stick with these tips and your dosas will turn out restaurant-level most days—crispy on the edges, soft in the middle, and totally repeat-worthy.
