
If you've ever wondered whether adding lemon juice to milk makes it curdle, the answer is yes, it certainly does! This might sound like a kitchen disaster, but it's the secret to making delicious homemade paneer. So, why does this magic happen?
Lemon juice is highly acidic, and when you mix it with milk, the acid interacts with the proteins in the milk, causing them to clump together. This reaction changes the liquid milk into solid curds, which you can then strain to make fresh paneer. It's like witnessing a bit of kitchen science right on your stove.
Turning milk into paneer using lemon juice isn't just a nifty trick; it's an art that can elevate your cooking skills. Before you start, it's helpful to know the proper technique to avoid common pitfalls. Ever had paneer that's too crumbly or rubbery? That's where these tips come in handy. Let's dive into how you can do it right from the start!
- The Science Behind Curdling
- Benefits of Using Lemon Juice
- Step-by-Step Paneer Making
- Common Mistakes and Fixes
- Creative Ways to Use Paneer
- Frequently Asked Questions
The Science Behind Curdling
So, what exactly happens when you add lemon juice to milk? It's all about chemistry, but don't worry—no need to dust off your lab coat! This simple yet fascinating process lies at the intersection of acidity and dairy science.
Milk is primarily composed of water, fat, and proteins. One crucial protein in milk is called casein, which usually floats around happily in tiny groupings known as micelles. These micelles are stable under normal conditions but can get disrupted by certain factors, such as acid.
Lemon juice, being acidic, alters the environment. When added to milk, the acid from the lemon juice lowers the milk’s pH level. This change destabilizes those casein micelles. The proteins uncoil and start combining with one another, forming clumps or curds. This is what makes the milk solidify, or curdle.
Acidity Levels and Their Role
The effectiveness of this curdling process depends very much on acidity levels. Too little acid, and the milk will stay mostly liquid; too much, and it'll become overly clumped. Lemon juice is usually perfect because its acidity level strikes a nice balance. If you're curious, here's a handy comparison:
| Substance | pH Level |
|---|---|
| Lemon Juice | 2-3 |
| Milk | 6.5-6.7 |
See how lemon juice is way more acidic?
Benefits in Paneer Making
Using lemon juice to curdle milk is a time-tested technique in homemade paneer making. The curdling ensures that the paneer will be soft yet firm, perfect for cooking. Plus, since lemon juice is natural and commonly available, it ensures your paneer is free of artificial additives.
Understanding this science gives you not just a better paneer but might also spark some inspiration for other kitchen experiments. Keep exploring, and who knows what other culinary wonders you'll find!
Benefits of Using Lemon Juice
Using lemon juice to curdle milk is not just a method to achieve the cheese-like texture of paneer; it offers numerous advantages that make it a top choice for many home cooks. So, why exactly is lemon juice a go-to option?
Natural and Accessible
The first benefit is that lemon juice is natural and contains no added chemicals. You probably have some already in your kitchen, making it super convenient for spontaneous cheese-making adventures. Compared to store-bought curdling agents, it's a healthier alternative you can rely on without a second thought.
Flavor Enhancer
Lemon juice infuses a subtle tanginess into the paneer, giving it a unique flavor profile that's hard to achieve with other acids like vinegar. This hint of citrus makes the paneer a tasty addition to a range of dishes, from savory curries to cheesy salads.
Cost-Effective Method
When looking at the budget side of things, lemons are often cheaper than some specialized cheese-making products. A single lemon can yield several tablespoons of juice, which is more than enough to make a fair batch of paneer, saving you a pretty penny.
Eco-Friendly Choice
Another overlooked aspect is that lemon juice is an environmentally friendly option. Lemons are biodegradable and don't involve any packaging or processing compared to processed alternatives.
Simple to Use
Using lemon juice to curdle milk eliminates the need for complex recipes or procedures. Just a simple squeeze can get the process started, which is great for beginners who might not have fancy tools. Just make sure the milk is hot, and you're good to go!
Curious how many people embrace homemade cheese? A recent kitchen trend study showed that 60% of experimental home cooks have tried making their own cheese at least once. Adding lemon juice to milk was the second-most popular method!
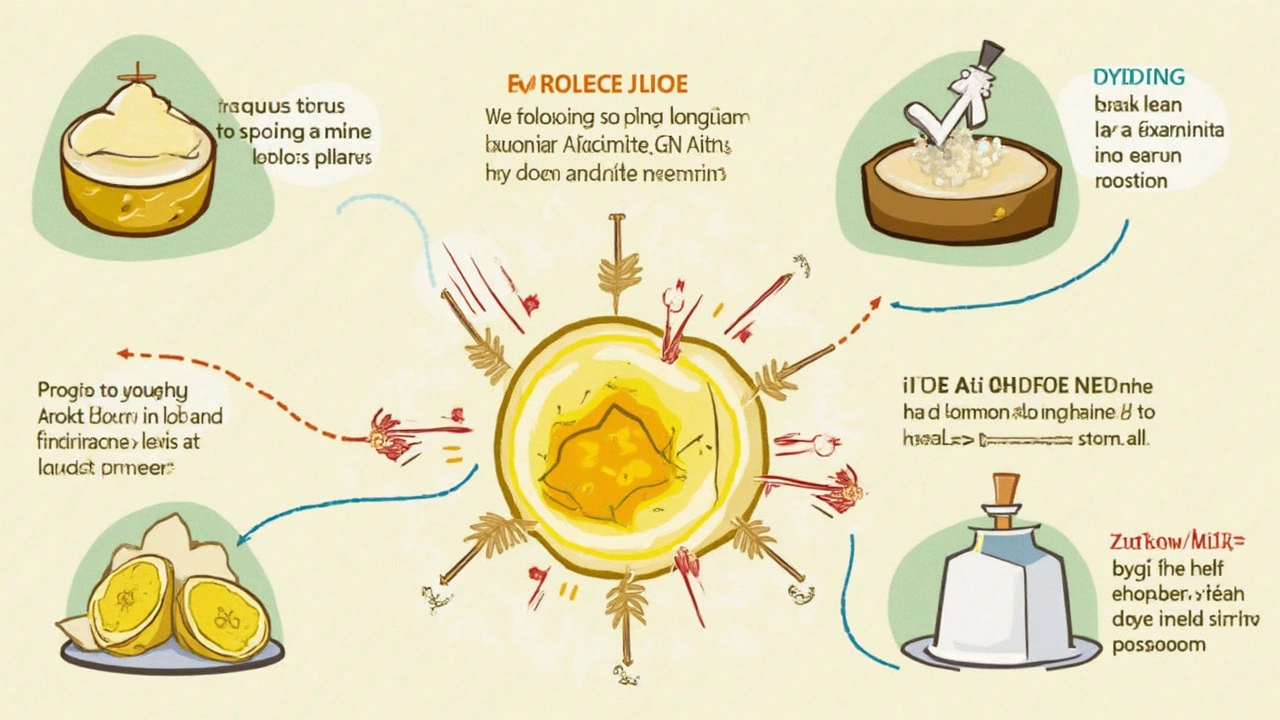
Step-by-Step Paneer Making
Making your own paneer might seem tricky, but it’s actually quite simple once you know the basics. By using lemon juice to curdle milk, you can create fresh homemade paneer with just a few steps. Ready to get started?
Ingredients You'll Need
- 1-liter full-fat milk
- 2-3 tablespoons lemon juice
- Cheesecloth or muslin cloth
Step-by-Step Instructions
- Heat the Milk: Pour the milk into a large pot and heat it over a medium flame. Stir occasionally to prevent it from sticking to the bottom.
- Add Lemon Juice: Once the milk is simmering, add the lemon juice gradually. Stir gently and watch as the milk begins to separate into curds and whey.
- Let it CurdlE: Turn off the heat and let it sit for about 10 minutes, allowing the curdling process to complete.
- Strain the Curds: Place a cheesecloth over a large bowl or sink and carefully pour the curdled milk into the cloth. The whey will drain away, leaving you with soft curds.
- Rinse and Press: Rinse the curds with cold water to remove any lemon flavor. Gather the ends of the cloth and twist gently to remove excess water, then press the bundle under a heavy object for about 30 minutes.
- Ready to Use: Unwrap your freshly made paneer and it's ready to be cubed or crumbled for your favorite dishes!
Quick Tips
Milk choice matters! Full-fat milk gives a richer texture, which is great for a creamy paneer. Using lemon juice not only gives the perfect acidity but it's also widely available and gives your paneer that authentic flavor without preservatives.
| Milk Amount | Lemon Juice Needed |
|---|---|
| 500 ml | 1-2 tbsp |
| 1 liter | 2-3 tbsp |
Mishaps happen, but don’t worry. If your paneer crumbles too much, you may have removed too much moisture. Simply adjust the pressing time next time, and you're golden.
Common Mistakes and Fixes
Making homemade paneer can be straightforward, yet there are a few speed bumps that might throw you off if you’re not careful. Fear not; here we'll tackle those common errors and show you how to fix them.
Mixing Too Fast
One of the biggest mistakes is adding lemon juice to milk too quickly and stirring vigorously. Slow and steady wins the race here. Instead, add the lemon juice gradually. Stir gently and keep an eye on the milk; you should see it start to curdle in a few minutes.
Milk Not Curdling Properly
If you find the milk isn't curdling, it might be because the milk wasn't hot enough. Ensure it's around 80-90°C before adding the lemon juice. If it’s still struggling, add a little more juice and heat slightly to encourage the curdling.
Poor Paneer Quality
Sometimes, you end up with paneer that's too soft and falls apart, usually because excess water wasn't drained properly. Hang the curds for longer to allow all the whey to drip out. Remember, patience is key!
Using the Wrong Type of Milk
Another common issue is using ultra-pasteurized milk, which doesn't curdle well due to changes in protein structure during processing. Stick to full-fat or at least whole milk for best results.
Storage Problems
Proper storage is essential if you want your homemade paneer to last. Store it in the fridge, submerged in water, for up to a week. This keeps it fresh and moist.
Over-Pressing the Curd
If your paneer turns out rubbery, it might be due to over-pressing. Gently press the curd just enough to remove excess whey, but not so much that it becomes too dense.
Don't let these hiccups deter you. Paneer making is a learning process, and with a little practice, you'll be turning out perfect batches in no time!
Creative Ways to Use Paneer
Paneer is like a blank canvas in the culinary world. Its mild flavor and firm texture make it super versatile, and you can do some pretty amazing things with it in the kitchen. Whether you’ve made your homemade paneer using lemon juice to curdle milk or picked some up at the store, there are plenty of delicious options to explore.
Grilled Paneer Skewers
One of the easiest and tastiest ways to enjoy paneer is by making grilled skewers. Marinate cubes of paneer in a mixture of yogurt, olive oil, and your favorite spices like cumin, coriander, and chili powder. Then, simply thread them onto skewers along with chunks of colorful bell peppers and onion, and grill them until they get those beautiful charred edges.
Paneer Tikka
Paneer Tikka is like the sibling of the grilled skewers but packs even more flavor. Marinate your paneer cubes in a spicy, yogurt-based marinade seasoned with garam masala, turmeric, and garlic. After letting it sit to absorb all those wonderful flavors, bake it or cook it over a stovetop until lightly charred.
Paneer Stir-Fry
Craving something quick and easy? A paneer stir-fry is your go-to. Toss diced paneer with a mix of vegetables like broccoli, snap peas, and carrots in a hot pan with soy sauce and a hint of ginger. Serve it over rice or noodles for a complete meal.
Paneer Curries
You can't talk about paneer without mentioning curries. From the famous Paneer Butter Masala to the spicy Palak Paneer made with spinach, the options are endless. Add the paneer towards the end of your cooking to keep it tender and full of flavor.
Desserts with Paneer
Surprisingly enough, paneer also makes a delightful appearance in many Indian desserts. Try making Rasgulla, which involves boiling balls of paneer in syrup—it's a sweet treat that everyone will love.
| Dish | Cooking Method |
|---|---|
| Grilled Paneer Skewers | Grilling |
| Paneer Tikka | Baking or Stovetop |
| Paneer Stir-Fry | Sauteing |
| Paneer Curries | Simmering |
| Rasgulla | Boiling |
The trick is to experiment and find what suits your taste buds. With paneer, the sky's the limit, and with these ideas, you'll never run out of ways to enjoy it!
Frequently Asked Questions
Does adding lemon juice to milk always result in curdling?
Yes, generally speaking, adding lemon juice to milk will cause it to curdle due to the acidic nature of lemons. However, there are a few factors to keep in mind. The temperature of the milk is crucial: warm milk curdles more effectively than cold milk. Additionally, the type of milk matters. Whole milk is usually best for making paneer, as the higher fat content helps with the curdling process.
What if my milk doesn't curdle?
If the milk doesn't curdle, don't panic! It often means the milk wasn't warm enough or not enough lemon juice was added. Heat the milk gently again and add a little more lemon juice, then wait a few moments for the curdling to start. Patience is key!
How much paneer can I expect from one liter of milk?
On average, you can expect about 200 grams of paneer from a liter of whole milk. This can vary slightly depending on the fat content of the milk and how well you drain the whey. It's a good idea to take these variations into account when planning your recipes.
Can I store homemade paneer? If yes, how?
Absolutely! Wrap your fresh paneer in a damp cloth and store it in an airtight container in the fridge for up to 3 days. If you want to keep it longer, consider freezing it. Remember to thaw it in the fridge before using. These steps help maintain its taste and texture.
Are there alternatives to lemon juice for curdling milk?
Yes, there are alternatives. You can use vinegar or citric acid instead of lemon juice. Each gives a slightly different taste, so feel free to experiment to find your preferred flavor. Just keep in mind that the process remains largely the same.