Paneer Yield Calculator
Select your curdling method and milk quantity to estimate the paneer yield for your recipe.
Estimated Yield
Want to make fresh paneer at home but don’t have lemon juice or vinegar on hand? You’re not alone. Many people assume citric acid is the only way to curdle milk for paneer, but that’s not true. In Indian kitchens across villages and cities, cooks have been making paneer without lemon or vinegar for generations. It’s simple, it’s traditional, and it works just as well - if you know how.
Why You Might Want to Skip Lemon and Vinegar
Lemon juice and vinegar are common curdling agents because they’re acidic and easy to find. But they come with downsides. Lemon can leave a faint citrus taste, especially if you use too much. Vinegar, even white distilled, can give paneer a slightly sharp or chemical aftertaste. Some people avoid them because they’re allergic to citrus, or they’re cooking for someone who prefers a neutral flavor. Others simply run out at the wrong time.
Good paneer should taste clean, milky, and slightly sweet - not tangy. That’s why alternatives matter. The goal isn’t just to make it curdle. It’s to make it taste like real homemade paneer.
The Science Behind Curdling Milk
Milk is made of water, fat, and proteins - mostly casein. When you heat milk and add acid, the proteins clump together and separate from the liquid (whey). That’s curdling. But acid isn’t the only trigger. Heat alone can do it, if you push it far enough.
Casein proteins start to denature around 70°C (158°F). At boiling point (100°C / 212°F), they fully unravel and bind together. But milk won’t curdle on its own at this stage - it just gets thicker. To force separation, you need to lower the pH slightly. That’s where non-acidic curdling agents come in.
Method 1: Use Yogurt (Curds) - The Traditional Way
This is the most common alternative used in rural India and households that make paneer weekly. You don’t need vinegar. You need plain, unsweetened yogurt.
- Start with 1 liter of full-fat milk. Whole milk gives you the best yield and texture.
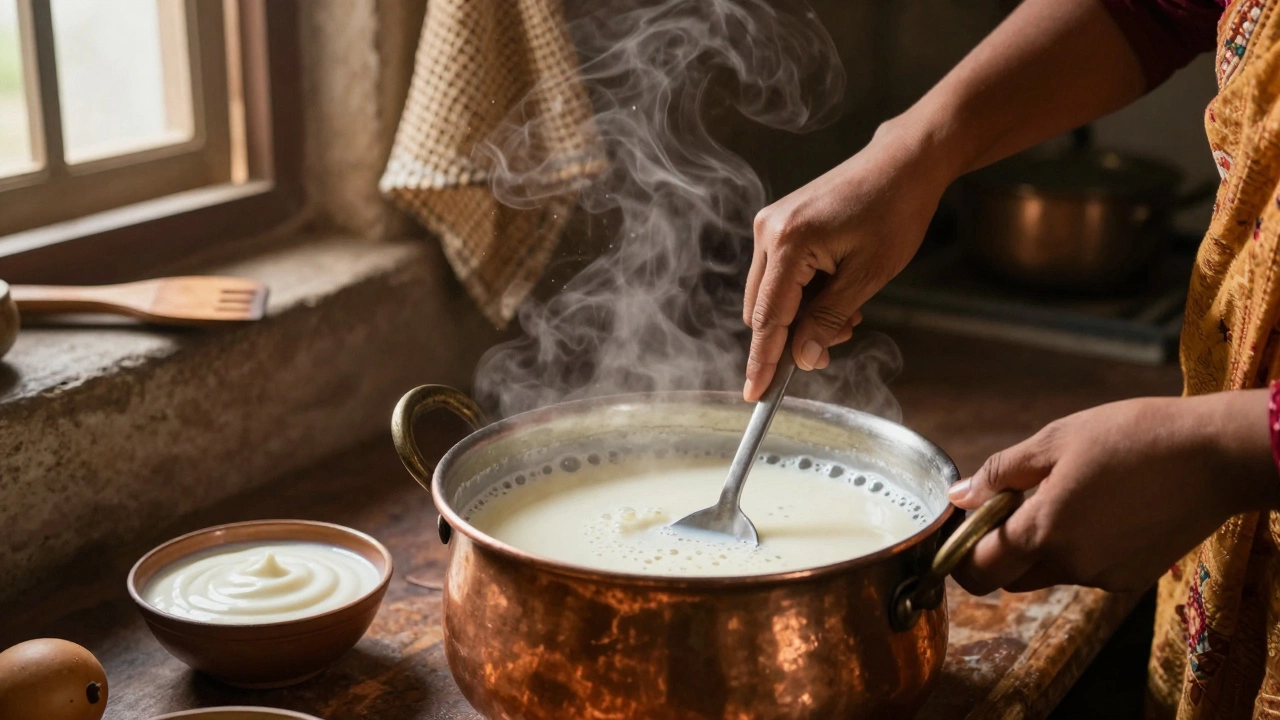
- Heat it slowly over medium heat until it just starts to simmer. Don’t let it boil over. You’ll see tiny bubbles around the edges - that’s your cue.
- Turn off the heat. Let it sit for 2 minutes to cool slightly.
- Add 2-3 tablespoons of plain yogurt. Stir gently for 10 seconds. Don’t overmix.
- Cover the pot and let it rest for 15-20 minutes. You’ll see the milk start to separate into solid lumps and clear yellowish whey.
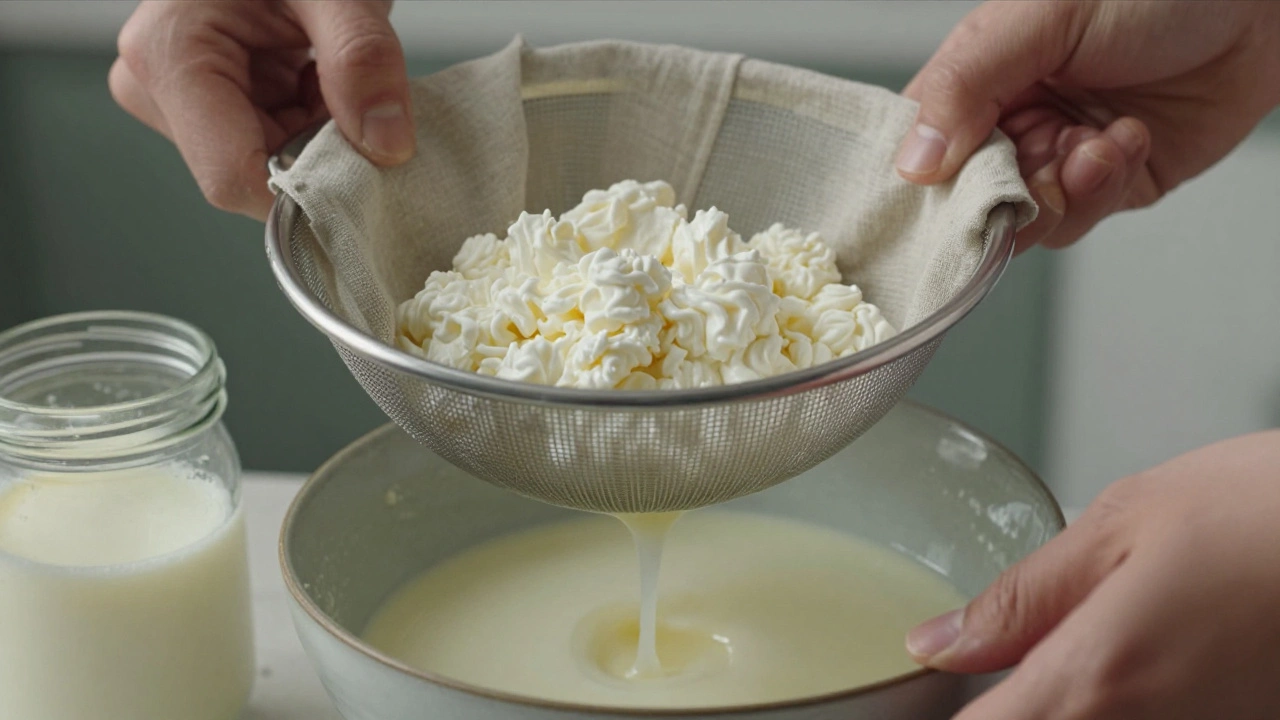
- Line a colander with cheesecloth and pour the mixture in. Let it drain for 30 minutes.
- Press the curds gently with a heavy plate or a 1kg weight for another 30 minutes.
The yogurt adds lactic acid - the same acid naturally found in fermented dairy. It’s milder than lemon juice, so your paneer stays creamy and neutral in flavor. This method gives you a slightly softer paneer, perfect for curries like palak paneer or paneer butter masala.
Method 2: Use Buttermilk - A Forgotten Secret
If you’ve ever made buttermilk by churning butter, you know it’s the leftover liquid. Store-bought buttermilk works too. It’s naturally acidic from lactic acid bacteria.
- Heat 1 liter of milk to just below boiling.
- Remove from heat. Add ¼ cup of buttermilk.
- Stir once, cover, and wait 20 minutes.
- Strain and press as usual.
Buttermilk curdles milk slower than yogurt, but the result is smoother and more uniform. The paneer has a delicate, slightly sweet taste - ideal for desserts or frying. It’s especially popular in South Indian homes where buttermilk is a daily drink.
Method 3: Just Heat It - The Minimalist Approach
This sounds crazy, but it works. In some parts of Rajasthan and Gujarat, cooks make paneer using only heat and time. No added acid at all.
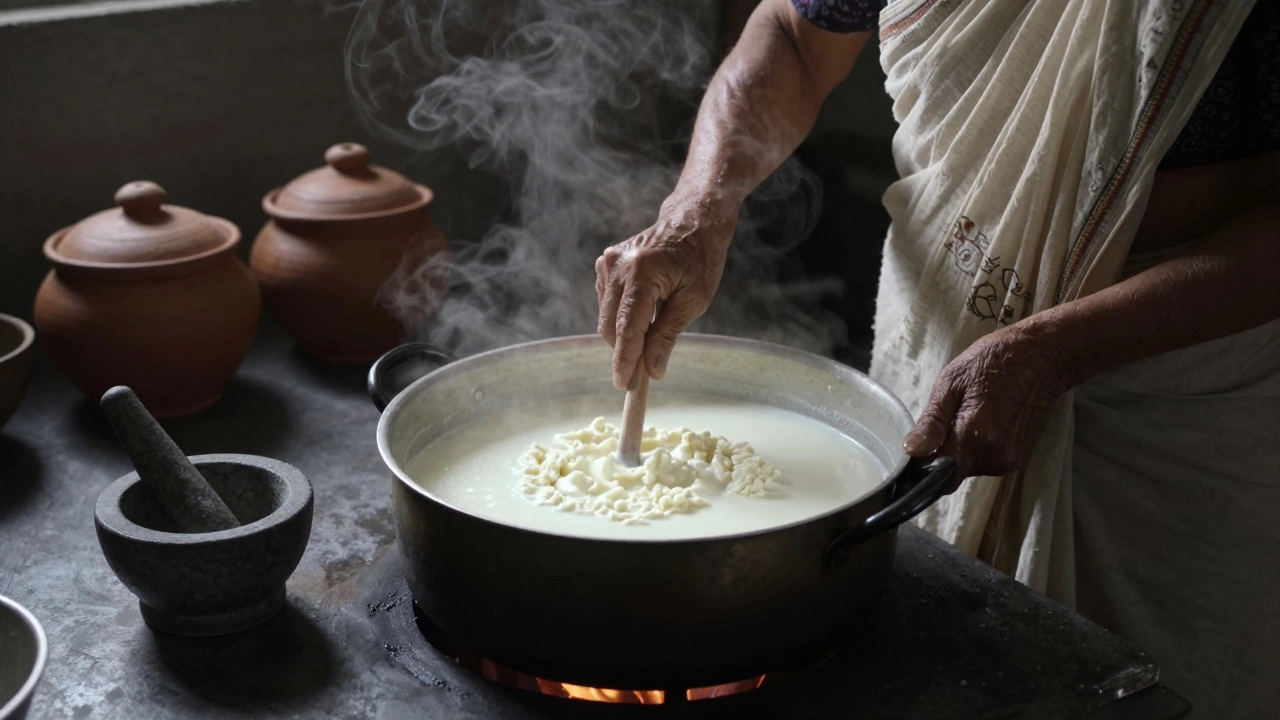
- Use 1.5 liters of milk (yes, more than usual). Higher volume means slower evaporation and better separation.
- Simmer on low heat for 45-60 minutes, stirring every 5 minutes to prevent sticking.
- As the milk reduces, it thickens and begins to separate on its own. The whey turns clear, and white curds form.
- Strain immediately into cheesecloth. Press under a heavy weight for 1 hour.
This method yields a drier, firmer paneer - great for grilling or cubing in kebabs. It takes longer, but it’s the purest form: just milk, heat, and patience. No additives. No guesswork.
Which Method Gives the Best Results?
Each method has its own texture and use:
| Method | Time Required | Texture | Best For | Yield (approx.) |
|---|---|---|---|---|
| Yogurt | 35-40 minutes | Soft, moist | Curries, sauces | 200-220g |
| Buttermilk | 40-45 minutes | Smooth, creamy | Frying, desserts | 210-230g |
| Heat Only | 75-90 minutes | Firm, dry | Grilling, kebabs | 180-200g |
The yogurt method is the easiest for beginners. Buttermilk gives you the most consistent results. The heat-only method is the most authentic - if you have time.
Pro Tips for Perfect Paneer Every Time
- Always use full-fat milk. Skim or low-fat milk won’t curdle properly - you’ll get crumbly, dry paneer.
- Don’t rush the heating. High heat scalds the milk and ruins the proteins.
- Let the milk rest after adding the curdling agent. Patience separates good paneer from great paneer.
- Pressing is non-negotiable. If you skip it, your paneer will fall apart in curry.
- Store paneer in cold water for up to 3 days. Change the water daily to keep it fresh.
Common Mistakes to Avoid
- Using flavored yogurt. Sweetened or fruit-flavored yogurt will ruin the taste.
- Adding too much yogurt or buttermilk. One tablespoon too much can make the paneer sour.
- Stirring too hard after curdling. Gentle folding only - vigorous stirring breaks the curds into mush.
- Not draining long enough. Wet paneer turns rubbery when cooked.
What Else Can You Use?
Some people try buttermilk substitutes like kefir or sour cream. These work, but they’re harder to control. Kefir is too active - it can over-curdle. Sour cream adds too much fat, making paneer greasy.
Don’t use baking soda. It doesn’t curdle milk - it makes it clumpy and chalky. And forget about rennet. It’s for cheese-making, not paneer. Paneer is a fresh cheese, not aged. You don’t need enzymes.
Why This Matters Beyond Paneer
Learning to curdle milk without lemon or vinegar isn’t just about making one ingredient. It’s about understanding how milk behaves. Once you know how heat and natural acids work, you can make other dairy products too - like labneh, ricotta, or even homemade yogurt.
It’s also a way to reduce waste. If you have leftover yogurt or buttermilk, you can use it to make paneer instead of throwing it out. In a world where food waste is a real problem, that’s a small win.
Can I use milk powder to make paneer without lemon?
No. Milk powder is processed and lacks the natural proteins needed for proper curdling. Even if you reconstitute it, the texture will be grainy and won’t hold shape. Stick to fresh, liquid milk.
Why does my paneer turn out rubbery?
Rubbery paneer usually means you pressed it too hard or too long, or you cooked the milk too fast. Overheating damages the protein structure. Press gently and use low heat. Let the curds form naturally.
Can I make paneer with almond or soy milk?
No. Plant-based milks don’t contain casein, the protein that forms paneer. You might get a soft curd, but it won’t hold together like dairy paneer. Stick to cow, buffalo, or goat milk.
How long does homemade paneer last?
Stored in cold water in the fridge, paneer lasts 3-4 days. Change the water once a day. If it smells sour or slimy, toss it. Fresh paneer should smell like clean milk.
Is paneer made without lemon healthier?
It’s not necessarily healthier - it’s just cleaner. Lemon and vinegar add acidity, but no extra calories or nutrients. Using yogurt or buttermilk means you’re adding live cultures, which may support gut health. But the difference is small. The real health benefit comes from using full-fat, minimally processed milk.
Next Steps
Try the yogurt method this weekend. It’s the easiest switch. Once you get comfortable, experiment with buttermilk. Then try the heat-only method on a lazy afternoon. You’ll start to notice how each one changes the texture - and how it affects the dishes you make.
Once you master this, you’ll never need to buy paneer from the store again. And you’ll understand why Indian grandmothers never keep vinegar in the kitchen - they had something better.