
Rolling roti might seem straightforward, but getting that perfect, even circle can feel like a mystery. Let's face it, we've all ended up with some less-than-circular attempts! But don’t worry, it's all about a few key tricks that make a massive difference.
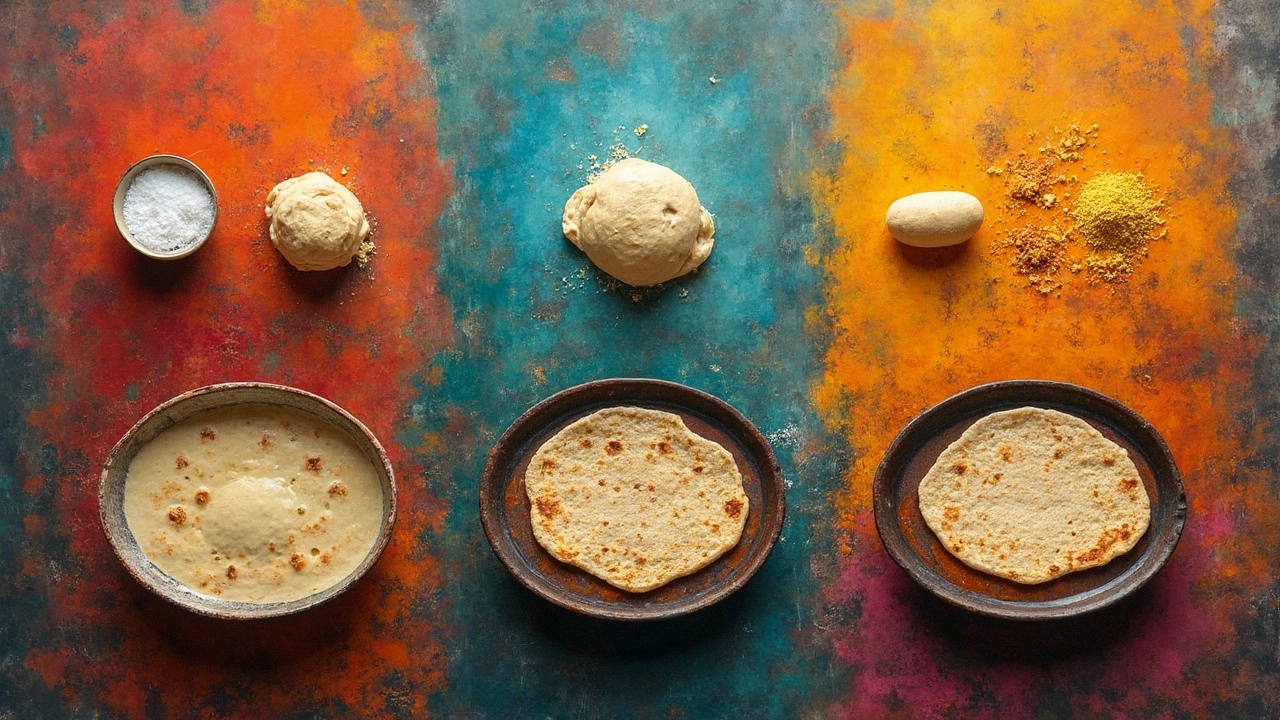
First up, the flour you use is crucial. Whole wheat flour, usually called 'atta,' is your best friend here if you’re seeking authenticity. This flour has the right blend of coarseness and softness to help the dough stay pliable yet firm enough not to tear while you roll.
- Choosing the Right Flour
- Prepping the Dough
- Mastering the Technique
- Mind the Temperature
- Resting and Re-Rolling
Choosing the Right Flour
Grabbing the right flour is your first step to making perfect roti. Now, this isn't just about what’s on your pantry shelf. For most folks aiming to make the real deal, whole wheat flour, or 'atta', is the go-to. It's not just about tradition—atta has the perfect texture that balances coarseness and softness.
Why is this balance important? Well, a too-coarse flour will give you dough that's rough and tough to roll, while one that's too soft won't hold its shape. The key to rolling roti that doesn't tear? It's in the blend.
- Soft texture: Ensures the dough is pliable, making it easier to roll out without fissures forming left and right.
- Coarse grain: Provides enough grip and firmness so your dough doesn’t become gooey and unmanageable.
If you're among those who like experimenting, try mixing different ratios of whole wheat and all-purpose flour until you get what works for you. Some folks use a 90% whole wheat, 10% all-purpose mix to hit the sweet spot.
One more thing—if you're living somewhere cold or super humid, you might notice a change in your usual recipe's behavior. Keep tweaking the blend to adapt to the climate, and you'll have nailed making roti no matter where you are!
Prepping the Dough
Prepping your dough right is the secret to getting those roti circles just right. So, let's break it down into some straightforward steps.
Start by grabbing some whole wheat flour. You'll want about two cups for a decent batch. Add a pinch of salt for flavor—this enhances your roti without overpowering the natural taste of the flour.
Next, slowly mix in water. Think about this like you're introducing your ingredients at a party; a little at a time is key. Begin with around half a cup and add more until you get a smooth, pliable dough. Aim for a consistency that's neither too sticky nor too dry. It'll take a bit of practice, but you'll get the hang of it!
Here's another vital tip: knead, knead, and then knead some more. Give it about 5 to 10 minutes of good kneading. This process makes the dough not just soft and elastic but also manageable when you start rolling.
- Mix dry ingredients with water gradually.
- Knead thoroughly until smooth.
- Rest the dough for about 20 minutes under a damp cloth.
Letting the dough rest is a game-changer. Just cover it with a damp cloth, and let it sit for about 20 minutes. This rest allows the gluten to relax, making your dough the perfect candidate for rolling evenly later on.
Once you're done resting the dough, give it a quick check. If it feels a tad sticky, dust it with some more flour. If it’s too dry, sprinkle a very little bit of water and knead again for a minute.
Mastering the Technique
Alright, now that you've got your dough ready, it's time to nail down the rolling part. First, keep a light touch. You want to gently roll the dough, using just the right amount of pressure—too much and you end up with a crispy cracker instead of a soft roti.
When you begin, dust both the rolling pin and dough ball slightly with flour to prevent sticking. Place the dough on a flat surface, preferably a wooden rolling board. Use a rolling pin that's not too heavy or too light. A good middle-ground weight gives you control.
- Start in the center: Start rolling from the center of the dough outwards, applying even pressure. This helps keep the roti circular.
- Quarter turns: As you roll, give the dough a quarter turn and repeat the rolling. This technique helps maintain the round shape.
- Keep it moving: Avoid over-rolling any one spot. Keep the pin moving across the entire surface to achieve an even thickness.
- Don’t stress about perfection: It doesn’t have to be a perfect circle. Focus more on uniform thickness, which is crucial for even cooking.
Consistency is key, so practice these steps a few times. Pretty soon you’ll be whipping out rounds like a pro—a vital skill for making even, delicious roti!
Mind the Temperature
Temperature might not be the first thing that comes to mind when you're trying to perfect your roti, but it's a game changer. The temperature of the environment and your ingredients can affect how well the dough behaves, and ultimately, how evenly you can roll out your even roti.
First, consider the room you're working in. If it's too cold, the dough might become stiff and harder to roll smoothly. Ideally, keep your kitchen warm, around 25°C (77°F) is perfect. If you're in a colder climate, let the dough rest for a bit longer to reach room temperature. It will give you a better chance at achieving that perfect circle.
Now, about the dough's temperature. Warm water is often used to mix the dough as it helps the ingredients blend easier and makes the dough smoother. Lukewarm water, approximately 40-45°C (104-113°F), is your best bet. Too hot, and it can affect the gluten, making your roti tough. Too cold, and it can stiffen the dough prematurely.
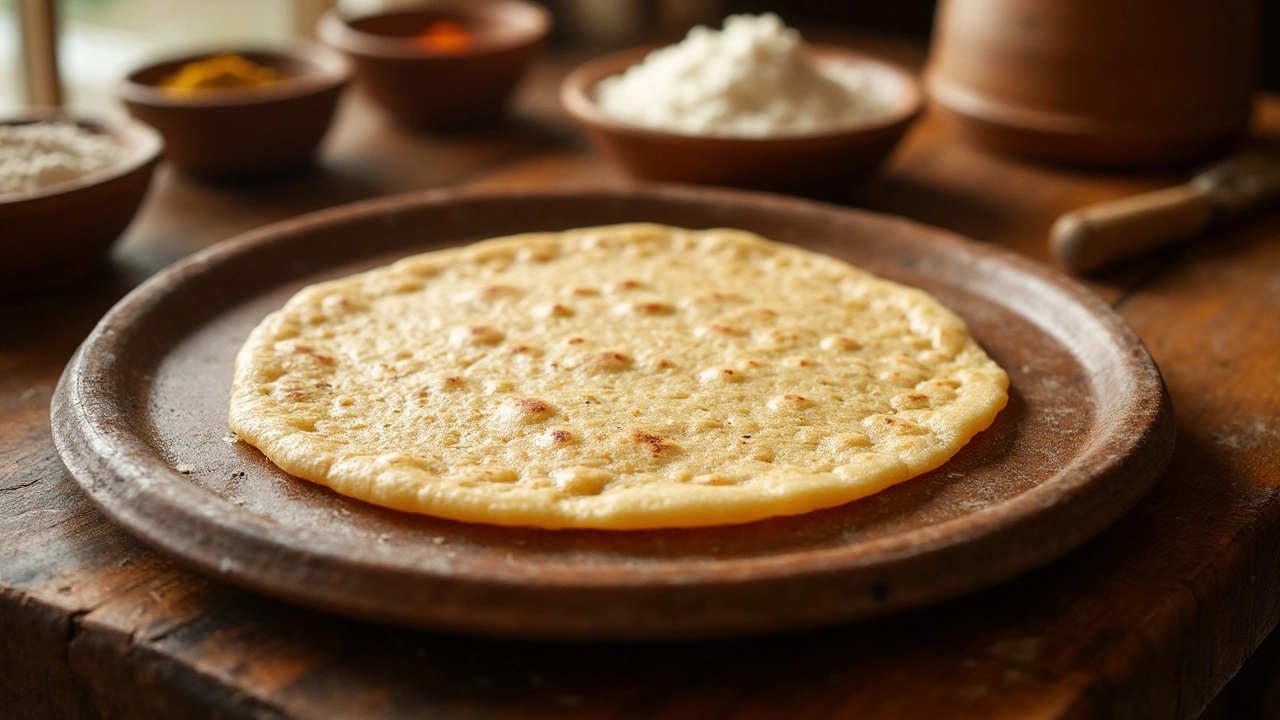
The cooking pan’s temperature is equally crucial. Preheat your pan on medium heat before you roll the first roti. It ensures the roti puffs up properly without burning. Remember, the pan should be hot enough to make the roti bubble within a few seconds. If it's taking too long, crank up the heat a notch.
| Temperature | Impact on Roti |
|---|---|
| Cold Kitchen | Dough becomes stiff and hard to roll |
| Hot Water (>45°C) | Makes gluten tight, resulting in tough roti |
| Hot Griddle | Ensures proper puffing of roti |
Keeping an eye on the temperature might seem like an extra step, but trust me, it's worth it. Next time you're making roti, pay a little extra attention to these temperature details and watch your roti game improve significantly.
Resting and Re-Rolling
Before you start rolling your roti, have you ever thought about letting the dough rest a bit? It’s like taking a breather before a big challenge. Resting the dough not only makes it easier to work with but also gives you that soft, puffed-up goodness you’re after.
The gluten in the dough needs some downtime so it can relax and stretch without snapping back. Try this: after kneading your dough, cover it with a damp cloth and let it sit for at least 20-30 minutes. This simple step makes your roti more elastic and prevents it from shrinking while you roll.
As noted cook Amar Singh says,
"Resting your dough isn't just resting it—you're waking up its full potential to be the perfect soft circle you're craving."
Once rested, handle the dough gently and try to roll it as evenly as you can. But here's a bonus tip: if it doesn’t come out even on the first try, don’t panic! You can give it a quick rest again and then re-roll it. This technique works wonders if you’re still getting those wonky shapes.
So, give your dough a chance to shine. A little patience with resting and some good old roti rolling practice will have you making perfect circles in no time.