If your biryani rice clumps, breaks, or cooks unevenly, the issue often starts before the pot hits the stove. The soak sets up everything: length, aroma, texture, and timing. Skip it, and you fight the rice all the way to the last dum. Do it right, and you get tall, separate grains that don’t steal moisture from your meat or masala.
TL;DR
- Soaking hydrates the grain evenly, washes off excess surface starch, and protects against breakage-so your biryani rice stays long, fluffy, and separate.
- Quick guide: aged basmati 20-30 min; sella (parboiled) basmati 45-60 min; new-crop basmati 10-15 min; brown basmati 60-90 min.
- Rinse 3-5 times until water is almost clear. Soak in plenty of cool water; salt the boil water generously (think sea-like) to season the core.
- If you skip soaking, extend the parboil slightly and use a crush test for doneness (1 small white core). If over-soaked, shorten the boil and air-dry the drained rice 5-10 min.
- Safety: keep soaks under 1 hour at room temp; refrigerate if longer. This aligns with general food safety guidance on the 2-hour rule.
The Real Reason You Soak Rice for Biryani (Science + Results)
Biryani asks a lot from rice. You want dramatic length, a tender bite, and distinct grains that don’t glue together under steam. Soaking is how you set those outcomes in motion.
Hydration first. Dry rice doesn’t absorb water evenly; the outer layer softens before the core catches up. A short soak preloads the grain with water, so heat can travel inward smoothly. Studies on rice hydration and gelatinization (see Journal of Cereal Science, 2014; Journal of Food Engineering, 2012) show that pre-soaked grains absorb and swell more uniformly and need less cooking time to reach optimal texture. For biryani, that’s gold-you can parboil to 70-80% doneness confidently, then finish in dum without overcooking the exterior.
Then there’s surface starch. Rinsing and soaking wash away the dusty layer that makes grains tacky. Less surface starch means better separation after steaming. Practical tests-rinsing until water turns from cloudy to nearly clear-reduce the gummy effect you see when rice boils over or clumps.
Length matters, too. Aged basmati has naturally higher amylose and lower moisture; when soaked, the grains relax, elongate more, and hold their shape. Indian Agricultural Research Institute (IARI) basmati breeding notes describe aged basmati’s superior elongation-often up to 1.5-2 times the raw length-especially when the rice is pre-hydrated and cooked in abundant salted water. That soak gives you those iconic, slender, showpiece grains.
Soaking also buys you timing. Hydrated rice cooks faster-typically 20-30% quicker-so your parboil becomes predictable. That predictability matters when you stack layers over meat or vegetables. You want your rice ready for dum just as the bottom layer has released moisture; neither should be waiting on the other.
And yes, soaking helps with seasoning. While most of the salting happens during the boil, a mild saline soak starts to move salt into the outer layers. It won’t fully season the core, but it sets you up for a more consistent salt gradient once the rice hits the salted pot.
Bonus: rinsing and boiling in excess water that you later drain can reduce trace arsenic in rice (Food Additives & Contaminants, 2015 reports reductions with rinse + excess-water methods). It’s not why we do it for biryani, but it’s a welcome side benefit.
Food safety deserves a quick note. Cooked rice is known for Bacillus cereus risks if left warm for hours. Soaked rice, while uncooked, is still a damp, starchy environment. Follow the general 2-hour rule from food safety bodies: keep room-temp soaks under an hour when you can, and refrigerate if you need longer. Drain just before cooking.
In short, when you soak rice for biryani, you’re setting up the grain to elongate, separate, and finish perfectly under steam-without stealing moisture from your masala or falling apart.
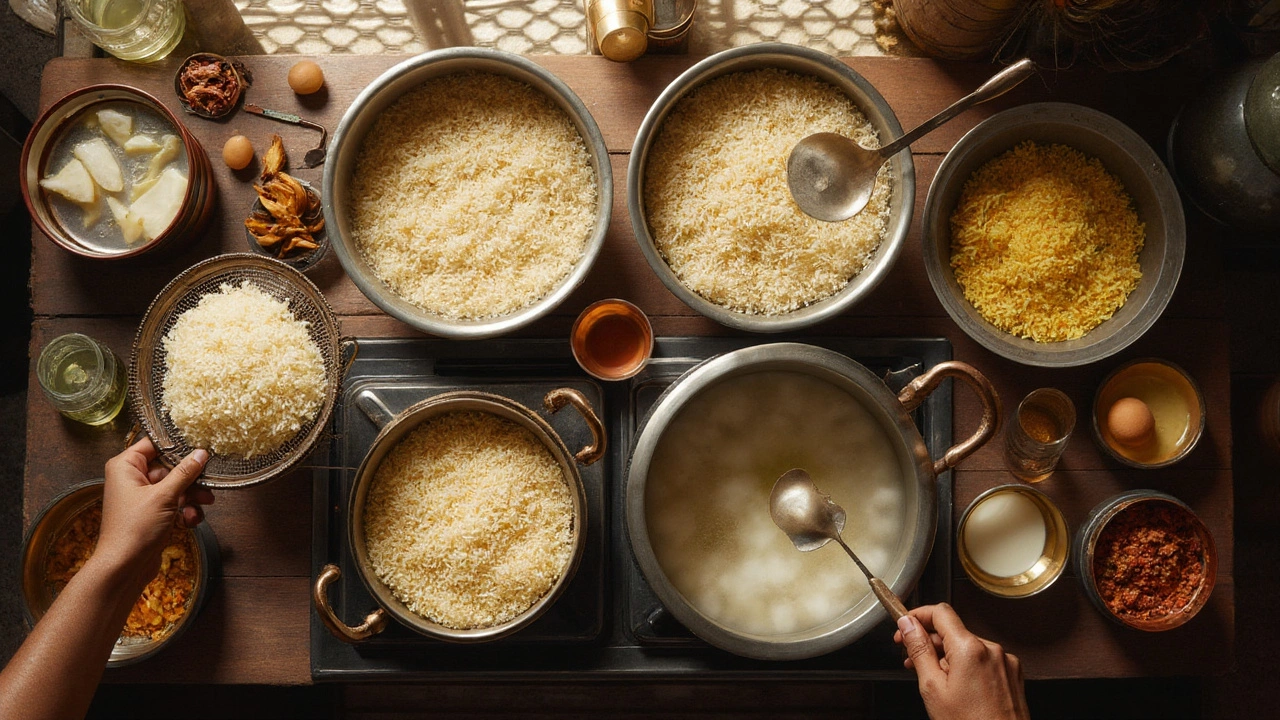
Exactly How to Rinse, Soak, and Parboil for Perfect Biryani Rice
Here’s the method I trust on a busy weeknight and during big feast days. It’s simple, repeatable, and brand-agnostic.
Step-by-step (for 2 cups basmati):
- Measure and inspect. Pick through for stones or debris. Use a tall bowl that gives the rice room to move.
- Rinse 3-5 times. Add water, swish gently with fingers, pour off cloudy water. Repeat until it’s almost clear. Don’t skip this-this is your anti-clump insurance.
- Soak in cool water. Cover by 2-3 inches. Soak using the timing below. Optional: add a small pinch of salt (about 1/4 tsp per cup rice) to start gentle seasoning. You don’t need oil here.
- Bring a big pot of water to a rolling boil. Think pasta-style quantity so grains can move freely. Salt generously: about 1 tbsp fine salt per liter gives restaurant-level seasoning. The water should taste pleasantly salty.
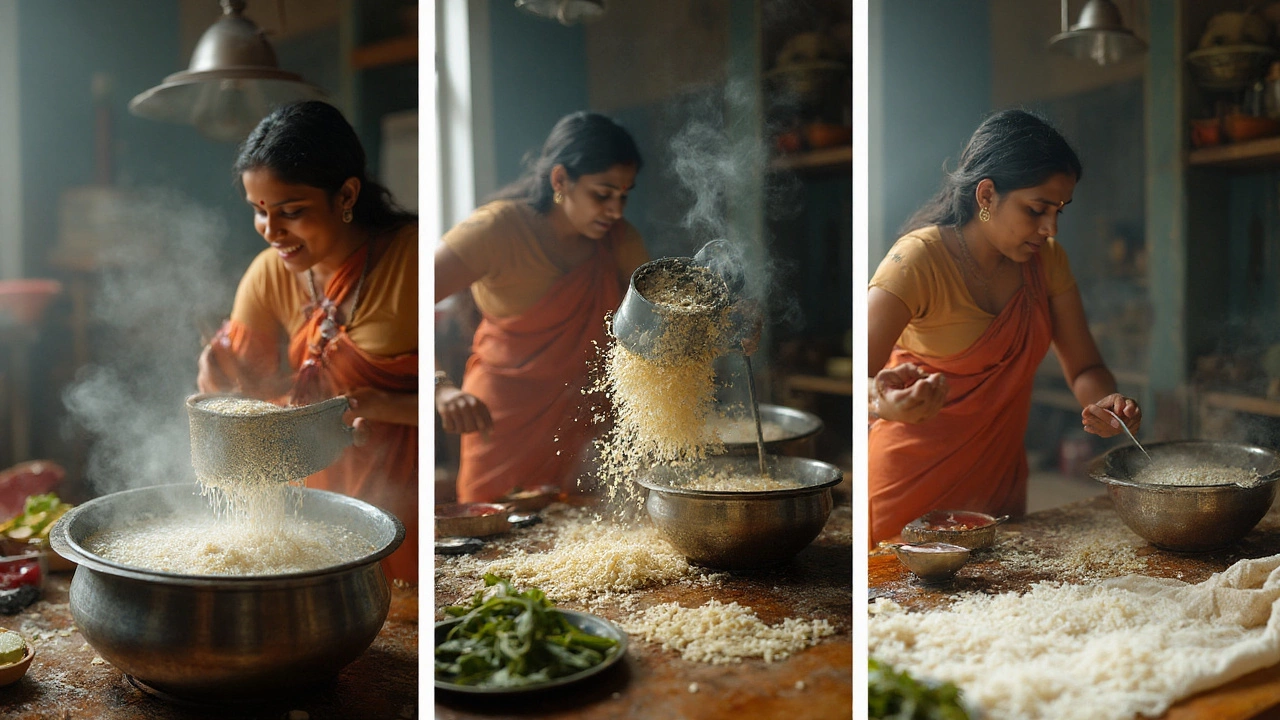
- Drain the soaked rice well and add it to the boil. Stir once to prevent sticking.
- Parboil until 70-80% done. Use tests, not just time: when you bite a grain, it should be mostly tender with a thin, firm core; or crush a grain-one tiny white dot remains. Typical ranges: 4-6 minutes for aged basmati, 5-7 minutes for sella, 3-5 minutes for new-crop, 8-10 minutes for brown basmati after soaking. Your brand and water hardness will nudge these.
- Drain immediately. Spread the rice in a thin layer on a tray for 2-5 minutes to steam off surface moisture. This short air-dry keeps grains separate when you layer.
- Layer and dum. Alternate with your masala/meat. A few drops of ghee on the rice layer helps protect the grains. Seal and steam until the rice is fully tender and aromatic.
Soak-time cheat sheet (pick based on your rice):
- Aged basmati (12+ months aged): 20-30 minutes
- Sella (parboiled) basmati: 45-60 minutes
- New-crop basmati (recent harvest, high moisture): 10-15 minutes
- Brown basmati: 60-90 minutes
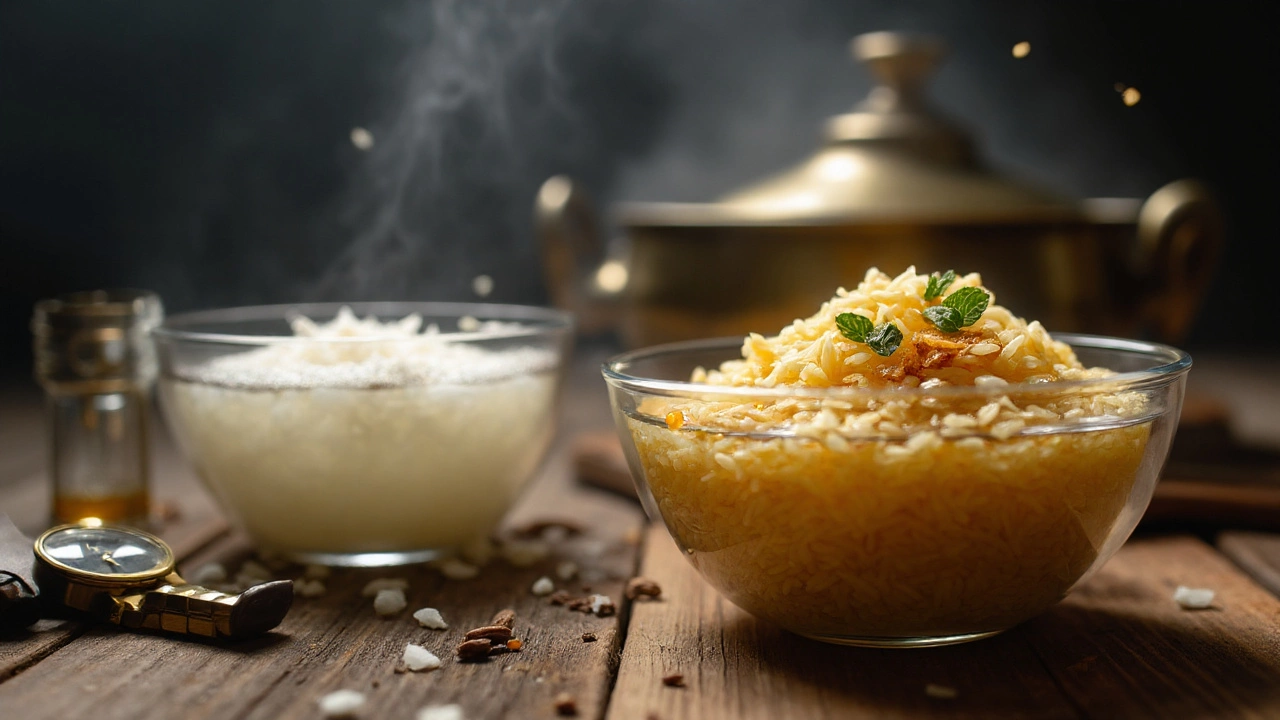
Why the spread? Aged basmati is drier and high in amylose, so it responds beautifully to a moderate soak. New-crop is already moist; over-soak it and it’ll bloat and break. Sella basmati was parboiled at the mill-its starch is pre-gelatinized and can take more water without falling apart, which is why caterers love it for giant batches. Brown basmati has the bran intact; it needs time to hydrate that outer layer.
Seasoning and extras (what actually helps):
- Salt the boil water, not just the soak. The salted boil is what seasons the core. I aim for pasta-water salty. For a lighter touch, use 2 tsp per liter.
- Acid, used lightly, can help keep grains sturdy. A 1/2 tsp lemon juice per liter in the boiling pot supports separation and brightness. Don’t overdo it.
- Whole spices in the boil (bay, green cardamom, a clove) scent the rice subtly. Nice, but optional.
- A teaspoon of ghee in the boiling water reduces foam and coats the grains. Handy if your pot tends to boil over.
Decision rules (when in doubt):
- Don’t soak past 60 minutes for white basmati unless it’s sella. Long soaks can make the outer layer fragile.
- Always cook by tests (bite/crush/white-core), not the clock. Different brands vary.
- If you can see chalky centers after draining, your parboil was too short-give it an extra minute next time or lengthen dum slightly.
- If the grains split in the boil, your soak was too long or your boil was too hard. Use a steady rolling boil and a wide pot.
Instant Pot and rice-cooker adjustments for layered biryani:
- Aged basmati (soaked 20-30 min): 1 cup rice to 1 cup water in the rice layer, High pressure 5-6 minutes, quick release, then 10 minutes rest on warm.
- Sella basmati (soaked 45-60 min): 1 cup rice to 1.25 cups water, High pressure 6-7 minutes, quick release.
- New-crop basmati (soaked 10-15 min): 1 cup rice to 0.9-1 cup water, High pressure 4-5 minutes, quick release.
Note: These are for layered biryani where the masala below releases steam. If you’re cooking rice alone, you’ll often need slightly more water. Always factor in your pot’s behavior and altitude.
Fixes, Edge Cases, and Mini‑FAQ (Instant Pot, Sella, No‑Soak, Safety)
What if you forget to soak? What if you soaked too long? Or your water is super hard and everything takes ages? Here’s how to steer the ship back on course.
If you skipped the soak:
- Rinse thoroughly, then do a hot quick-soak: pour freshly boiled water over the rinsed rice and let it stand 10 minutes. Drain well.
- Extend the parboil slightly and rely on the crush test (look for a thin white core). Expect a minute or two longer than usual.
- Use a wide pot and a rolling, not violent, boil. Unsoaked grains are more prone to scuffing and breakage.
If you over-soaked:
- Drain and spread the rice on a tray for 5-10 minutes to air-dry the surface. This toughens the outer layer a touch.
- Shorten the parboil by 30-60 seconds. The grain is already water-loaded.
- Add 1/2 tsp lemon juice to the boiling water per liter to encourage separation. A teaspoon of ghee can also help.
Hard water or slow-softening issues:
- Use filtered water for soaking and boiling. Minerals in very hard water can slow softening.
- Don’t crank the heat to a violent boil-it breaks grains without solving hardness. Time and enough water are better fixes.
Rice brand differences (why your timing changed):
- Aged vs new crop: Aged grains need a bit longer soak but cook more predictably. New crop is quicker to parboil but easier to over-soak.
- Sella basmati: Built for volume. Longer soak, slightly longer parboil, very forgiving under dum. Great for big parties.
- Brown basmati: The bran demands more time. Soak long, parboil until the core is thinly opaque, then dum to finish.
Mini‑FAQ:
- Do I really need to rinse if I soak? Yes. Rinsing removes loose starch; soaking doesn’t replace that step. Do both.
- How salty should the water be? Start with 1 tbsp fine salt per liter for the parboil. Taste it. If it tastes like the sea, you’re in range.
- Does soaking wash away nutrients? You lose a little surface starch and trace soluble compounds, but biryani is about texture and flavor integrity. The tradeoff is worth it.
- Can I add vinegar to the soak? I don’t. If using acid, add a small amount to the boiling water instead, where it helps separation without sitting on the grain for long.
- How much water should I use for soaking? Plenty-2-3 inches above the rice. It’s not about ratio; it’s about keeping grains submerged and free to hydrate.
- Is sella basmati better? It’s safer for large batches because it resists overcooking and holds shape. Regular aged basmati wins on delicate aroma and mouthfeel in small to medium batches. Pick based on your event.
- If my rice breaks, what went wrong? Usually over-soaking, a violent boil, or stirring too much. Next time, shorten the soak, keep a steady boil, and stir only once right after adding rice.
- Can I soak overnight? For white basmati, no-unless refrigerated and you’re cooking very gently. Texture tends to suffer. For brown basmati, you can refrigerate-soak overnight and then reduce cook time.
- What about food safety? Keep soaks under 1 hour at room temp; if you need longer, refrigerate. This follows general guidance (the 2-hour rule) from food safety authorities like USDA and WHO frameworks on time/temperature control.
Quick checklists you can actually cook with:
Soak-time and parboil checklist:
- Aged basmati: Soak 20-30 min. Parboil 4-6 min to a thin white core.
- New-crop basmati: Soak 10-15 min. Parboil 3-5 min, very gentle handling.
- Sella basmati: Soak 45-60 min. Parboil 5-7 min; it tolerates a little extra time.
- Brown basmati: Soak 60-90 min. Parboil 8-10 min; finish on dum until tender.
Seasoning and separation checklist:
- Rinse until nearly clear.
- Salt the boil water generously; it should taste pleasantly salty.
- Optional: 1/2 tsp lemon juice + 1 tsp ghee per liter in the boil.
- Drain and air-dry 2-5 minutes before layering.
Instant Pot layered biryani cheat notes:
- Aged basmati (soaked): 1:1 (rice:water), 5-6 min High, quick release.
- Sella (soaked): 1:1.25, 6-7 min High, quick release.
- New-crop (soaked): 1:0.9-1, 4-5 min High, quick release.
If you’re cooking for a crowd (5+ cups rice):
- Switch to sella basmati if consistency is king. It handles holding and reheating better.
- Use a wide stockpot so grains move freely during the boil.
- Under-parboil slightly (err on the firm side) and extend dum. Large volumes finish faster under steam.
If you’re new to biryani:
- Start with aged basmati from a reliable brand. It’s more predictable than new-crop.
- Time your parboil with a test spoon nearby. Bite a grain every minute after minute three.
- Write down what worked (soak time, parboil minutes, brand). Two batches in, you’ll have a system.
If you love to tinker:
- Try a saline soak: 1/4 tsp salt per cup in the soak water. It won’t replace salted boil water, but it can give you a gentler salt gradient.
- Experiment with a brief post-drain rest: 2-3 minutes covered, then uncovered 2 minutes. This balances moisture and separation before layering.
Why all this effort? Because biryani isn’t just rice plus curry; it’s a balance of water and heat across layers. The soak is your easiest control knob. It’s the 20 minutes that make the next hour behave. Do that right, and the rest of the dish starts to click-clean, tall grains on top, juicy meat or vegetables below, and aroma that travels.
One last sanity check before you commit the pot to dum: pinch a few grains from your parboiled batch. If they bend without cracking and show a faint white core, you’re in the sweet spot. If they snap, go a bit longer next time. If they’re already soft through the center, shorten the parboil and soak by a couple of minutes next time-or move fast and reduce dum time today.
That’s the real answer to “Why do you soak rice for biryani?”-it lets you control texture instead of chasing it. From the first rinse to the last minute of steam, the rice listens to what you did at the sink.